


Spring Arts and Crafts
Those who think that the era of making arts and crafts ends at the start of high school are sadly mistaken. Designing and fashioning material into your own creation is an activity that many high school students still partake in during their free time. If you’re looking to get started, or are simply craving some inspiration, look no further. Here are three projects that can be done at home.
Clay Rings

This simple and inexpensive craft has gone viral on social media platforms such as Tik Tok due to how easy they are to make, as well as their ability to add a fun element to any outfit. All you need is polymer clay (which can be purchased on Amazon for $8.99), a thick marker, scissors and a ring that fits your finger. Start by taking a small piece size of clay (about the size of your fingernail) and knead it until it forms a straight line that should be about ⅓ of an inch thick and around 6 inches long. Next, use the marker to roll the line of clay out, but be sure to not roll the clay too thin. Once you’ve rolled out your clay, fit the clay around your ring and adjust the clay strap based on your finger size and cut off any excess clay that is not needed. Popular designs include adding self-made clay flowers onto the rings or changing the color of the rings by using regular paint over the clay.
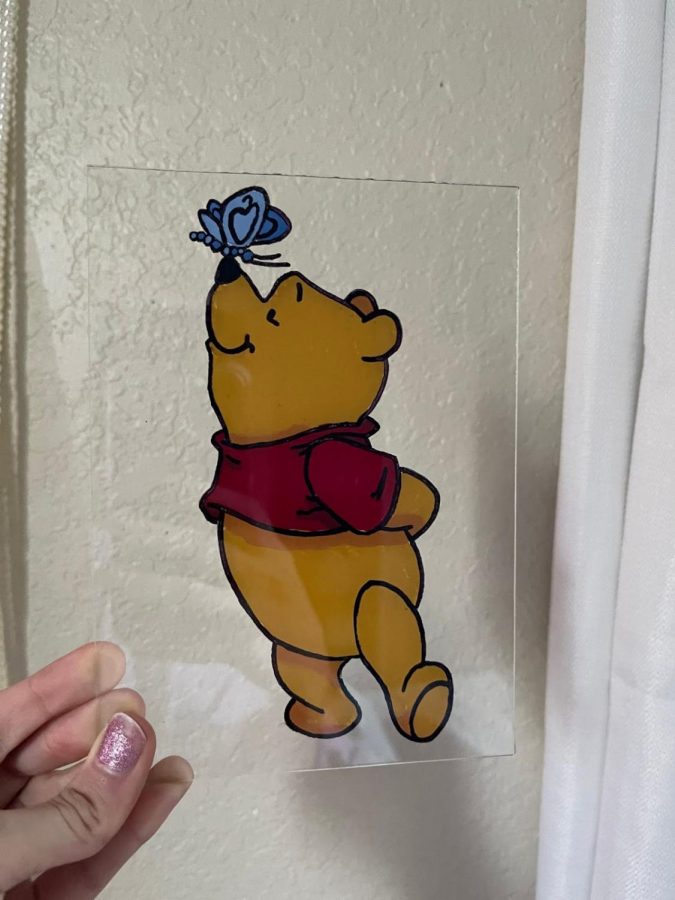
Reverse Glass Painting
For a more time-consuming activity to fill in the hours of solitude stuck in a pandemic, try painting glass. This activity is especially popular amongst K-pop and anime fans who love to make artwork depicting their favorite biases or characters. The supplies you need are various sized paint brushes ($4.97 at Walmart), a rectangular or square piece of glass (an old photo frame works or you can purchase the glass for $1 at Dollar Tree), acrylic paint ($16.99 on Amazon), a sharpie and a paint primer ($5.27 at Walmart). The first step is choosing what to paint; many people will opt for their favorite cartoon player or celebrity.
Whatever picture you choose, one of the most important steps is to flip the image horizontally and then print the image out. You need to reverse the image so when you start tracing the image on your glass, the painting will be in the right direction.
Starting off, clean your glass and then start outlining your image with a sharpie. Once you’re done, be sure to prime your glass with your primer and after that, you can start painting. The key to glass painting is to paint in layers, so the first layer of paint should be the layer of paint covering the small details. After the first layer of paint has dried, paint on the second layer and so on until the image is completely covered with paint. After all layers of paint have dried, flip the painting over and you should have a beautiful glass art piece.
Tie Dyeing
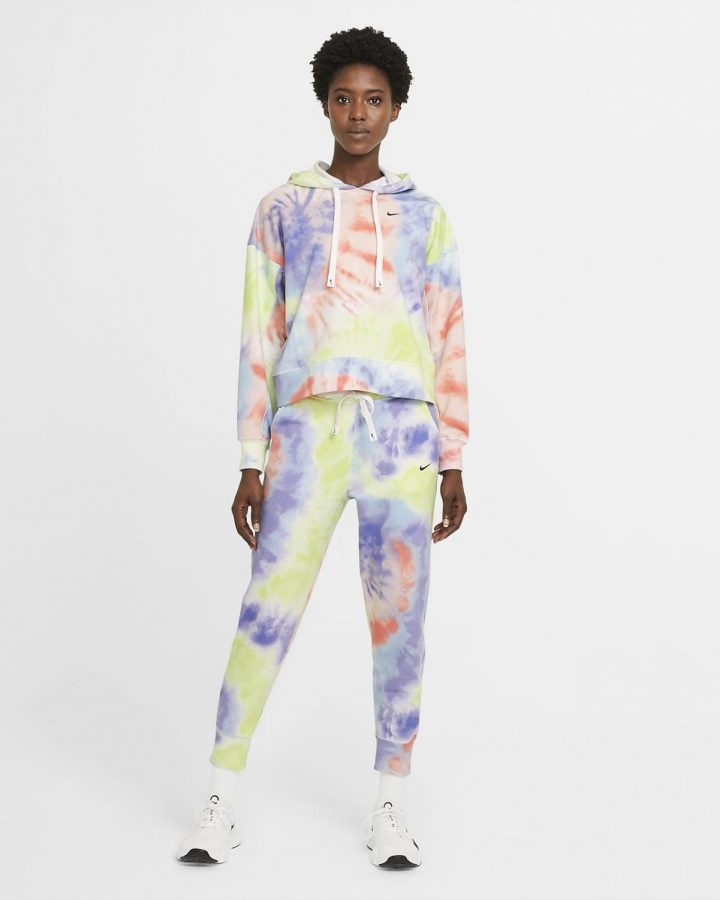
Probably the most popular activity on this list would be tie-dying. It’s possible to tie-dye anything as long as it’s made out of 100 percent natural fibers such as cotton, rayon or silk. To tie-dye, all you need is your choice of fabric such as a sweatshirt, the Create Basic tie dye kit that contains dye powder ($11.99 at Walmart), disposable plastic gloves, rubber bands and a plastic Ziploc bag. First, wash your choice of fabric and make sure that it is damp. Then, start prepping your dye by filling your easy-squeeze bottle up with water to the indicated stop line marked on the bottle. The most popular tie-dye design is the spiral design, which can be achieved by laying out your damp material and then folding your fabric into a spiral by picking it up and twisting it in a clockwise direction. After the spiral is completed, bind the spiral with the rubber bands. Once you’ve done that, dye the sections of the spiral any color you want. When you’re done, put the fabric in the Ziploc bag and let it sit overnight for six to eight hours. Once it’s done, rinse and wash to view the final product.
Your donation will support the student journalists of Diamond Bar High School. Your contribution will allow us to purchase equipment and cover our annual website hosting costs.