‘Tis the season to scare your peers and for some, Halloween isn’t complete without a frighteningly realistic costume that makes it look like you walked right out of “The Walking Dead” TV show. If your current Halloween plan involves dressing up as a zombie, villain, or ghoul, why not add a bit of blood and gore to complete the look? This cheap and quick tutorial will teach you how to create a fake cut in just about 30 minutes.
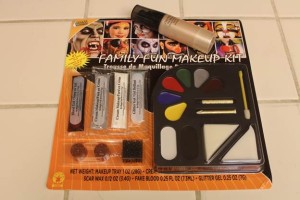
Materials: Target Family Fun Makeup Kit (it’s only $7!), foundation, lotion, butter knife (or another object with a thin edge
Procedure:
 1. Knead the scar wax until it becomes easy to mold; I find that putting lotion on your hands prevents the wax from becoming too sticky.
2. Roll the wax into a long sausage shape about half a centimeter wide and place it on your skin where you want your “cut” to be.
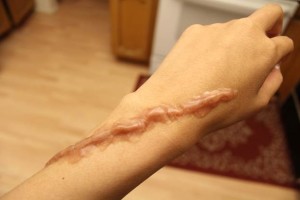
3. Press the sides into your skin, keeping the center a little thicker than the rest so it starts looking like a raised, ropey scar. Again, if the wax starts sticking to your fingers, apply more lotion.
4. Use the sponge provided in the makeup kit to apply foundation on the scar wax to blend it into your skin.
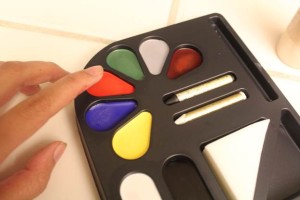
5. Use the red and blue pigments to make your “wound” make more realistic: bright red around the immediate edges of the wound, dark red on the area your skin meets the scar wax, and blue in sparse, random areas to create the image of “bruising.”
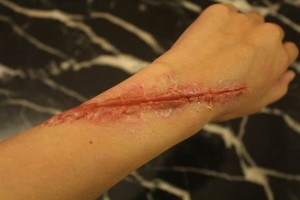
6. Finally, cut the corner off the packet of fake blood and squeeze it into the main cut of the wound. Smear a bit around the cut for some finishing touches and you’re done! Now just walk calmly into your living room and wait for a reaction.


